Welcome and thank you for being here.
I don’t intend to stop using sketchbooks, ‘urban sketching’ or ‘plein air’ for that matter but will be experimenting with other subjects and media as well to generally round my art a bit more.
So this type of post may well become a regular feature where I talk about ‘doing’ art and show you results or video for you to try. I’d like to talk about technique this time around.
Technique✏️🎨👨🎨
There are plenty of techniques to learn, particularly with watercolour. Having talked about process last time, it was of course only related to the process I use. There are other processes people use to get the pictures they want. Some go for large sections of wash and then layers on top. some use pencil as guides some don’t. Many artists will not use pen when it comes to watercolour. It is seen as forbidden or inferior somehow. I get it and am certainly not here to cause any controversy but each to there own. I have done it myself and now i just like what I do …until I don’t!
This writing is not all encompassing, but hopefully will generate some interest for you to learn more about this wonderful subject and medium. There are plenty of resources and experts all over the interweb, far more experienced than me where you can access loads of tutorials and help.
So let’s get to some techniques
Wet on wet, wet on dry, dry brushing, graded wash, flat wash, underpainting, splattering, salting, feathering, blending, blotting, layering, negative painting, stippling/sponging and on it goes.
These are all ways to build up the colour on your picture to get the look you want. I guess you could class these all as paint and water techniques, they require certain materials. For example washes will generally need larger brushes to get the water on the page quickly. Flat or mop brushes are ideal for this.
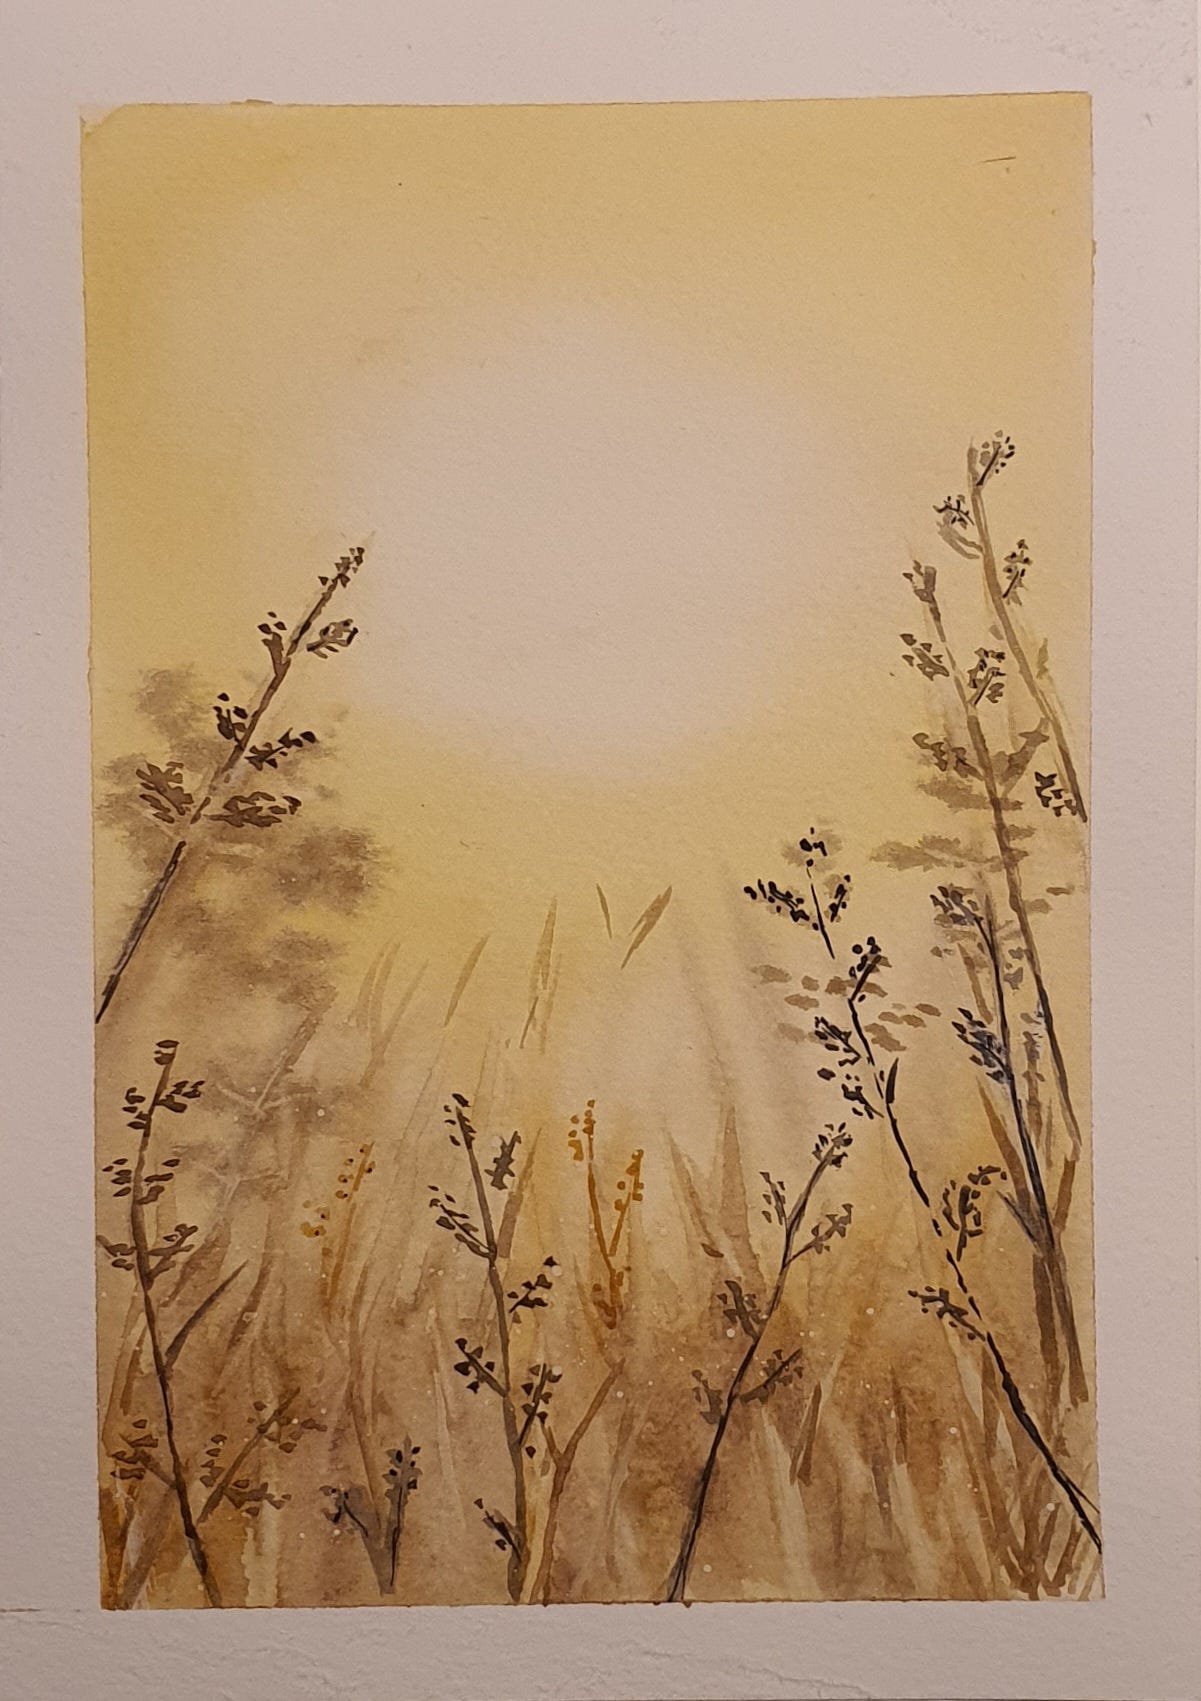
In this example you can see how a good wash can give dramatic effect. The wash (flat, graded and hybrid versions like this one with the ‘hole’) is a fundamental technique to master. It is done wet on wet, where the paper is wet with clean water first and the watercolour pigment is dropped into it and moved around with the brush and more water. You can use gravity to help by tilting the paper too.
With watercolour it goes without saying you need to have a good quality paper to allow the pigment and water to move through it easily. The top dollar end of the paper scale is 100% cotton whilst the other end will not!! Trust me on the paper when I say they are not all made the same!
Another important technique is the feathering of edges to assist in the soft look (if that is what you are trying to achieve) and help if you are blending different colours. Feathering is achieved by using a damp clean brush at the edge of the colour to gradually blend the pigment into either the paper or another colour.
Another technique is wet on dry and is good for detail, precision and hard edges. It is a much used technique that would be classed as fundamental and requires patience and practice. Wet brushes going onto dry paper (or previously painted paper) can give lovely effects but be warned you must know which bits are wet/ or even damp as moving in to wrong areas can cause all sorts of havoc!! You can lose the hard edges with this technique by using the feathering technique mentioned above.
In the warm autumnal picture above you can see some feathering and wet on dry techniques working over the wet on wet wash to great effect.
I’ll discuss more techniques in future posts as there is plenty to get your head around.. Watercolour gives you so many things you have to think about it can all get a little disheartening at times if you are inexperienced but try not to let it get you down, safe in the knowledge every stroke or mark gets you a step closer to where you want to be.
Experimentation is the way forward. Always get the best materials you can afford at the time. Don’t be afraid to use them because you paid too much for them. (particularly the paper)
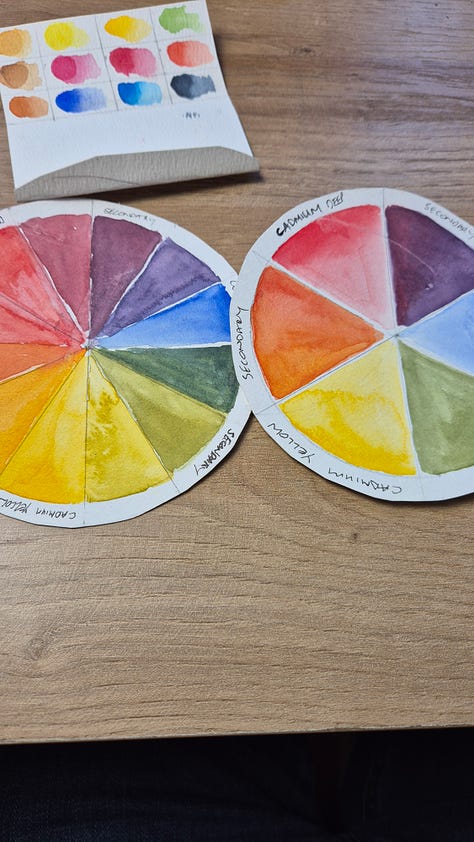
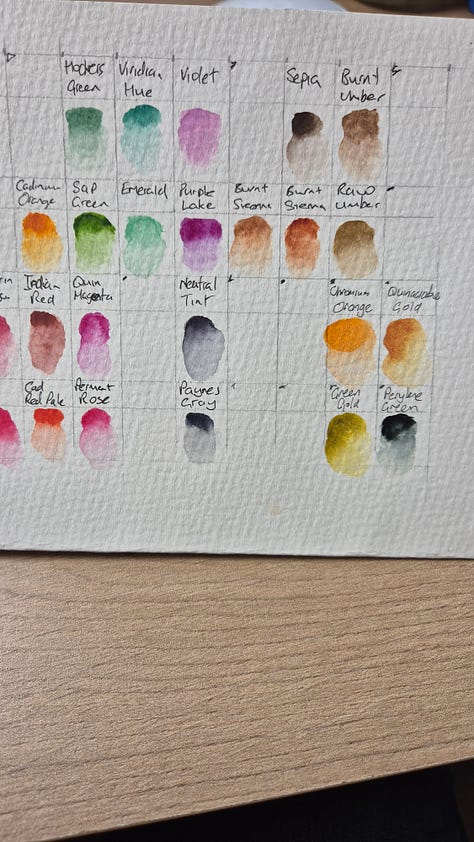
One last tip. There is plenty you can learn just from swatching your colours and creating colour wheels. I still do it and it gets you using your materials and seeing how they behave on the paper. My take home is to enjoy what you do and have FUN…👨🎨
The first picture is the Derwent Graphitint swatch from my latest Substack Live session on Jan 28th. (the whole video will be available in full for paying subscribers)


Online Sketch Meet (open to all subscribers)
The next one will be on Thursday 30th January 16.00 GMT and you can sign up on the link below - spaces are limited. Please click on the Lu.ma registration early if you would like to join in.
I’ll send out more details in a Lu.ma blast before the event (Blast: Luma’s word for message!) and if there are topics you would like to try please let me know, I’m happy to experiment more on the video with our growing community. There are no right or wrong ways to create so long as we just do it and enjoy!!
PS This zoom session will not be recorded or archived in anyway, so what you see on the day is what you get!
I am really looking forward to the coming year, particularly as the seasons start to bring some nicer weather. I really would love to hear from you if you enjoy reading my work and getting some ideas. Join me in a chat thread or zoom session or direct message. I’m always glad of the company on this journey. Thank you for reading, happy sketching and an even better 2025
Please ❤️ (below) and click share if you found this post interesting or helpful in any way
Capture your World in a Sketchbook is a free newsletter. Your Coffee donations are greatly appreciated, they help to support & motivate me to carry on writing and sharing. Click the link below if you feel like donating a little to support my writing and art support 💚
(Sometimes, I may not be able to trace you back to your Substack name from Kofi but thank you for the generous donations)


Really enjoyed learning from this post, Carl. Thank you for sharing your tips!